
Disclosure: As an Amazon Associate I earn from qualifying purchases. How this site works
Drafting Pencils
Precision features for technical drawing.
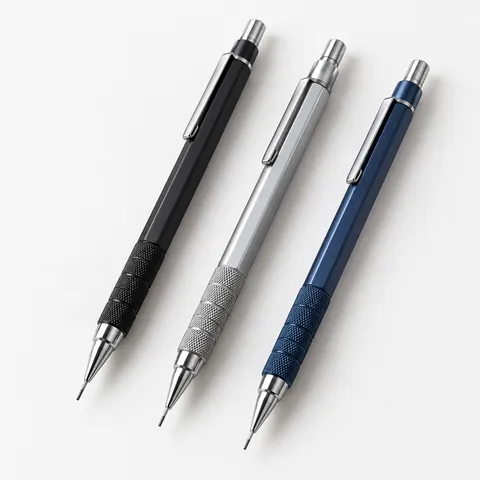 Drafting mechanical pencils
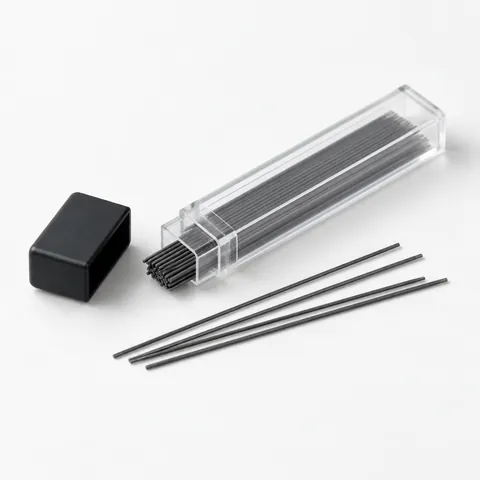 Mechanical pencil leads
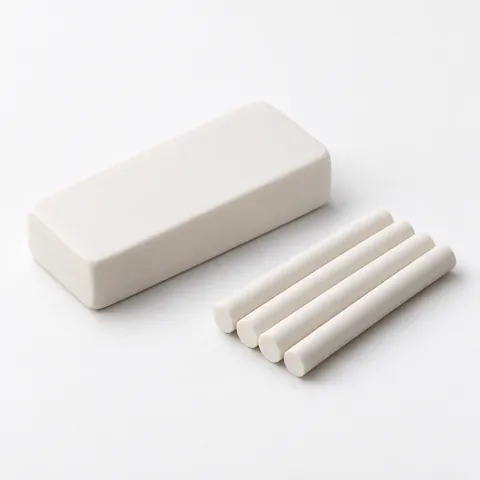 Erasers and eraser refills
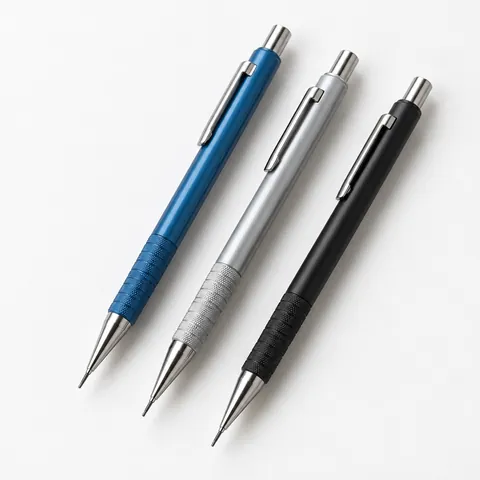 Rotating-lead pencils
Features
- Long fixed sleeve for visibility along rulers
- Lead hardness indicator window
- Metal body with a low centre of gravity
- Knurled grip
- Pocket clip — beware bending the sleeve
Choosing
Pick one pencil per lead size you use, and mark each with its grade.
Browse drafting pencils.
Is a drafting mechanical pencil worth it for everyday writing?
A drafting pencil is made for controlled lines, not for being tossed loose in a bag. The long sleeve and firm grip help when you are drawing against a straightedge, lettering in small spaces, or keeping a consistent line on graph paper. For note-taking, journaling, or sketching on the couch, those same features can feel less forgiving than a general mechanical pencil.
The main trade-off is protection versus visibility. A fixed sleeve lets you see exactly where the lead meets the paper, but it is exposed. If you carry one daily, use a case, store it tip-up in a pen cup, or choose a version with a retracting pipe if portability matters more than maximum ruler clearance.
A drafting pencil can still be a good everyday pencil if you like a precise point, a narrow grip, and a solid feel. It is less ideal if you press hard, rotate the pencil constantly while writing, or want a large built-in eraser. Most drafting pencils treat erasing as a separate tool, not as the main feature.
If you are buying your first one, start with the lead size you already use most. A 0.5 mm pencil is the most familiar middle ground for many users: fine enough for small writing, but not as fragile as very thin lead. If your writing is large or heavy, a wider size may be less frustrating. You can compare options under drafting mechanical pencils once you know the size and sleeve style you want.
What lead size should I choose for drafting?
Lead size controls line width, break resistance, and how often you need to advance the lead. It also affects how well the pencil works with templates, scale rulers, and small lettering. There is no single best size; the right choice depends on your paper, pressure, and the amount of detail you draw.
| Lead size | Best for | Trade-off |
|---|---|---|
| 0.3 mm | Very fine details, small annotations, tight grid work | Breaks more easily and needs a light hand |
| 0.5 mm | General drafting, school use, diagrams, clean writing | Not as bold as wider sizes and not as fine as 0.3 mm |
| 0.7 mm | Heavier lines, rough layouts, everyday writing | Can be too broad for dense technical notes |
| 0.9 mm and wider | Bold construction lines, sketching, users who press hard | Less precise for small text and fine dimension lines |
For most people, 0.5 mm is the safest first drafting size. Move smaller only if you need finer detail and can write with light pressure. Move larger if you break lead often, work on textured paper, or prefer darker, broader lines.
Lead grade matters as much as diameter. Harder grades make lighter, cleaner lines that resist smudging, while softer grades make darker lines with more smear risk. If you are learning, buy one or two grades rather than a full range. A medium grade for writing and a harder grade for layout lines cover many uses. Keep matching refill lead in several hardness grades with the pencil size printed on the pencil barrel or package.
Do not mix lead sizes in one pencil. A 0.5 mm mechanism is not meant to feed 0.7 mm lead, and a thinner lead in a wider mechanism will wobble or jam. If you use multiple sizes, separate pencils are cleaner and faster than constantly checking what is loaded.
How do you use a drafting pencil with rulers and templates?
The point of the extended sleeve is to put the lead close to the measuring edge without the pencil body blocking your view. This helps when you are following a ruler, triangle, lettering guide, or template. The benefit is most noticeable on small marks and repeated parallel lines.
Use this setup routine before starting a drawing:
- Extend only a short amount of lead. A tiny exposed point is enough; too much lead flexes and breaks.
- Check that the sleeve, not the grip, is riding beside the ruler edge. Keep the pencil nearly upright for the cleanest offset.
- Pull the pencil along the edge rather than pushing hard into it. Heavy side pressure can snap lead and may chip plastic templates.
- Rotate the pencil slightly between longer strokes if the line starts to look flat or uneven.
- Brush away lead dust before moving a ruler across the page so it does not smear into the drawing.
Be aware that every pencil and straightedge combination has a small offset between the ruler edge and the drawn line. For ordinary notes this does not matter, but for careful layouts you should use the same pencil angle and the same side of the ruler throughout a drawing. Consistency is more important than forcing the pencil hard against the edge.
When using templates, choose a lead size that fits the openings without catching. Very small openings may work better with 0.3 mm or 0.5 mm lead. Wider leads can drag against the template wall and make curves look uneven. If the sleeve itself is too wide for a tiny opening, draw the shape lightly in sections rather than pressing the pencil into the hole.
How should I maintain and store a drafting pencil?
Most problems come from broken lead inside the pipe, dirt in the feed, or a bent sleeve. Regular cleaning is simple and does not require oil. In fact, avoid oil or household lubricants unless the manufacturer specifically instructs it, because residue can attract graphite dust and make feeding worse.
- If the lead will not advance, remove the lead reservoir and gently clear the tip with the clean-out rod if the pencil includes one.
- If there is no clean-out rod, use a spare piece of the correct lead size carefully from the tip end; do not force it.
- Store refill lead in its case so dust and short fragments do not enter the pencil.
- Retract the lead before putting the pencil down, even if the sleeve itself does not retract.
- Use a separate eraser for major corrections so you do not wear out a tiny cap eraser quickly.
- Keep the pencil out of pockets where side pressure can bend the sleeve.
A bent sleeve is more than cosmetic. Even a slight bend can make lead scrape, feed unevenly, or snap as it exits. If your lines suddenly feel scratchy or the lead breaks right at the tip, inspect the sleeve against a bright background. A visibly bent fixed sleeve is difficult to repair without making it worse.
Graphite grade changes can also cause feeding issues if old fragments remain in the mechanism. When switching grades, advance the remaining lead out instead of pulling it backward through the clutch. Load new pieces from the reservoir end, tap lightly to seat them, and test-feed before starting important work.
Plan on using a real eraser if accuracy matters. A small pencil eraser is fine for a quick word, but a block, stick, or refillable eraser gives better control and keeps the pencil mechanism cleaner. For corrections and replacements, consider erasers and eraser refills.
Frequently asked questions
What is the difference between a drafting pencil and a regular mechanical pencil?
A drafting pencil is optimized for line control next to rulers, templates, and small marks. It usually gives a clearer view of the point and a firmer grip area, while a regular mechanical pencil is often designed more for pocket carry, comfort, and general writing.
Are drafting pencils good for artists?
They can be, especially for clean line work, thumbnails, perspective grids, comics, and detailed studies. For loose shading or expressive sketching, many artists still prefer wider lead holders, wood pencils, or softer lead because they cover more area and vary line width more easily.
Why does my drafting pencil keep breaking lead?
The most common causes are too much lead extended, heavy writing pressure, a lead grade that is too soft for your hand, or a damaged sleeve. Try extending less lead, holding the pencil more upright, and moving up one lead diameter if breakage continues.
Can I put colored lead in a drafting mechanical pencil?
Yes, if the colored lead matches the pencil diameter, but colored leads are often more fragile than graphite. Use light pressure, avoid tiny lead sizes if you break them often, and clean the tip if the colored lead leaves residue or feeds poorly.
Should I buy several drafting pencils or one pencil with multiple lead grades?
If you regularly switch between line weights or grades, separate pencils are faster and reduce mistakes. If you only draft occasionally, one pencil and a small refill case may be enough, as long as you clearly know what grade is loaded.
Disclosure: As an Amazon Associate I earn from qualifying purchases. This site may earn a commission when you buy through its links, at no extra cost to you. Product details come from public manufacturer information; always check the merchant page for current specifications and prices. We have not hands-on tested the products described here.